
Styles and Finish
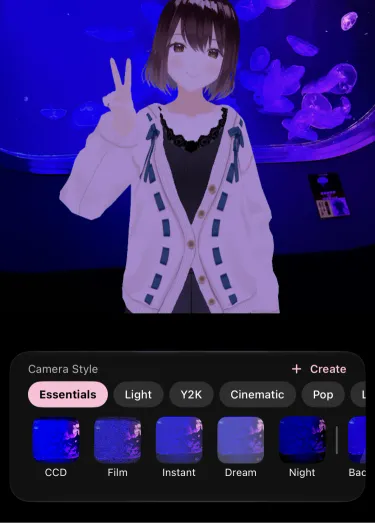
A style appears in the preview as soon as you choose it.
Add “Frame” from the aspect ratio button, and “Show Date” and “Signature” from settings. These also appear in the preview before you shoot.
Creating My Styles
Section titled “Creating My Styles”Tap “Create” next to the “Camera Style” heading in the style list to build your own style from layered parts. Tap “Add” to choose parts from categories such as “Color”, “Light”, and “Lens”, then adjust them with dials and colors. Changes appear in the preview right away.
Tap “Save”, and the style appears under “My Styles” with a name like “My Style 1”. Touch and hold one of your styles to show “Edit”, “Duplicate”, “Rename”, “Delete”, and more. My Styles are available with Pro.
Choosing Where the Light Comes From
Section titled “Choosing Where the Light Comes From”“Lighting” in the menu lets you drag the sun to choose where the light comes from. Use it when “Match Background” is off, or when your face comes out dark because of backlight.
The dials on the same screen also change the “Brightness” of the light on the avatar, its “Warmth” from cool to warm, and the depth of “Shadow”. Set “Shadow” to 0 for no shading.